Get your Camera Out of Automatic
- Jonathan Zuramski
- Jun 15, 2016
- 4 min read
Get Out of Auto

You've spent all your hard-earned cash and want to go out and take some pictures to show off your awesome new piece of equipment. You look at the dial on the top and decide to just leave it in auto, because you don't want to mess around with it. After a long day of taking pictures you get home and look through them, wondering why they aren't turning out like Ansel Adams' photos. Why can't you get that cool blur, or freeze your scene in motion, and worst of all, why is your picture so bright and overexposed? Well, your problem probably stems back to the little green camera you selected on your mode dial. But before you switch that out to full manual, or aperture and shutter priority modes, you need to understand the exposure triangle. There are a lot of different rules to the three factors in the exposure triangle, and I will give you the basics on why full manual is so great. First of all, you get to pick your exposure. I specifically remember being so fed up with my camera not being able to give me the light I wanted, either overexposing the background and making the person look like a silhouette or underexposing everything. The outcome of how the picture looks is up to you, but always keep an eye on your light meter just as a reference to start from.
- Shutter Speed -

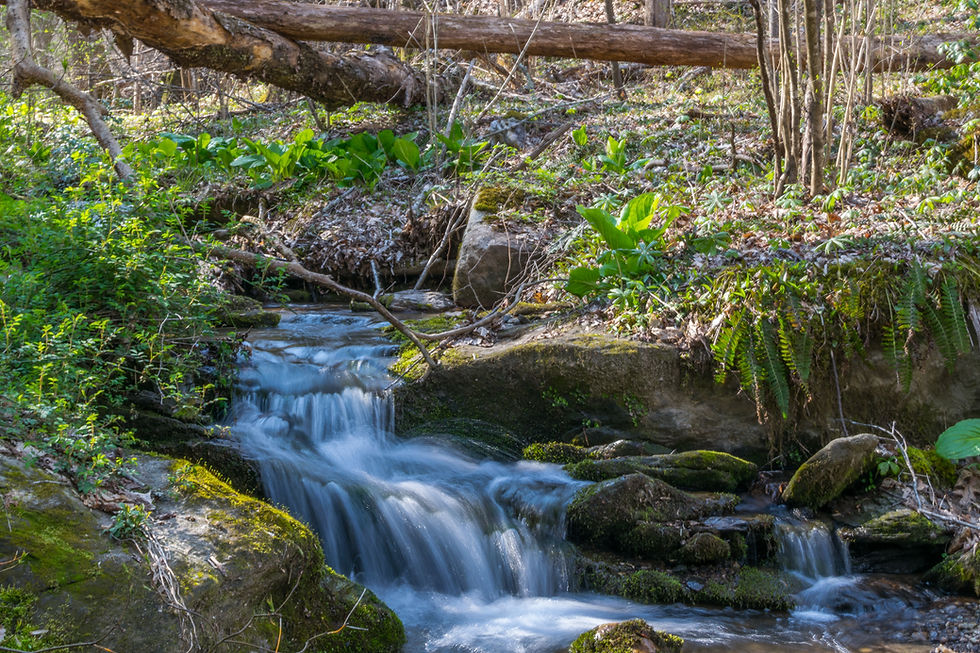
First, lets talk about shutter speed. Shutter speed is the length of time the shutter is open and letting the light hit the sensor. It is measured in seconds or fractions of a second. This is the setting you will want to change depending on the amount of motion blur you want or if you want the ability to freeze motion in time. Play around with the settings and find what you want, 1/60th is what I prefer for walk-around hand holding unless I'm looking to capture fast movement. I shoot my little brother's lacrosse games from 1/250th to 1/800th too freeze lacrosse shots in mid air. Increasing the shutter speed decreases the amount of light and vice versa. You can also use slow shutter speeds to make your picture bright without needing to adjust your aperture and ISO, but keep in mind you will need a tripod for slow shutter speeds. You can also use slow speeds to introduce amazing blur, which is how you get the effect of silk smooth water (Example of Water Above). To get the a correct exposure you must balance this with your Aperture and ISO.
- Aperture -

Aperture determines how big the opening for light is, in your lens. This number is determined by the lens and not the camera body, and when a lens is referred to as "fast" it means it has a wider aperture size, and is measured by f stop. Your aperture is used to change the depth of field and allow for more light to come into your camera. Obtaining fast lenses that are a constant aperture can allow you to shoot in low light and get better results, but are extremely pricey. The kit lenses are usually f/3.5-5.6, meaning the aperture changes size when you zoom, letting in less light. The lower the f stop number, the wider the aperture is, and the more light is let in. At wider apertures you also change the depth of field. This means the amount of the picture in focus is less and is where you get the background blurred, which is called bokeh. This is a desired effect by many photographers, and is a reason they shell out big bucks for lower aperture lenses. Aperture can also effect the sharpness of your photo. When shooting very low apertures on cheaper lenses, it can also make the image softer. By increasing the aperture you can also increase the sharpness of your image. Most lenses are sharpest at f/8, but when shooting at f/8 almost the whole image will be in focus, and you will no longer achieve bokeh. Pro lenses will be able to shoot wide apertures and still remain quite sharp.
- ISO -
ISO is the last option you want to increase to make dark photos brighter, as it introduces grain into the picture. ISO does nothing more than increase the sensitivity the camera has to light. It is best to shoot with the ISO at the minimum setting, which is usually around 100 for most entry level DSLRs. When getting your exposure correct, you generally want to adjust your aperture and shutter first to keep from introducing grain into the picture. An example of when you should use ISO is when you want to increase your shutter speed to freeze motion and you already have your aperture wide open, but the picture is too dark. You can also increase ISO when you have your shutter as slow as you can without seeing the camera shake. You want to increase your aperture so that more of the picture is in focus and sharp.
That's all that you really need to know to go out and shoot in full manual and make your pictures look 10 times better. I hope this helps you feel confident with shooting in manual! If you have any questions shoot me an email- jon@zuramskistudios.com.


Comments